You are afraid of hackers, aren’t you?
Every day they come up with new methods to sneak into our websites. One of the popular way of hacking is Brute Force Attack, in which they try to login with some possible combinations of usernames and passwords.
You have to be extra vigilant to eliminate break every attacking attempts. The best method to avoid brute force password recovery is setting IP restrictions for the login page.
Do you think it is a job of pure geek to do that? No, never! I am going to walk you through the entire process in this article.
How to Set IP Restrictions for the WordPress Login Page
You will get two different methods to set up IP restrictions for the WordPress login page.
Shall we begin?
Method 1: Using a Plugin
You don’t have to get your hands dirty by touching any internals of your blog here. All you have to do is installing a plugin and configuring a few settings. That’s all!
Follow the steps given below to set IP restrictions for your login page of WP website.
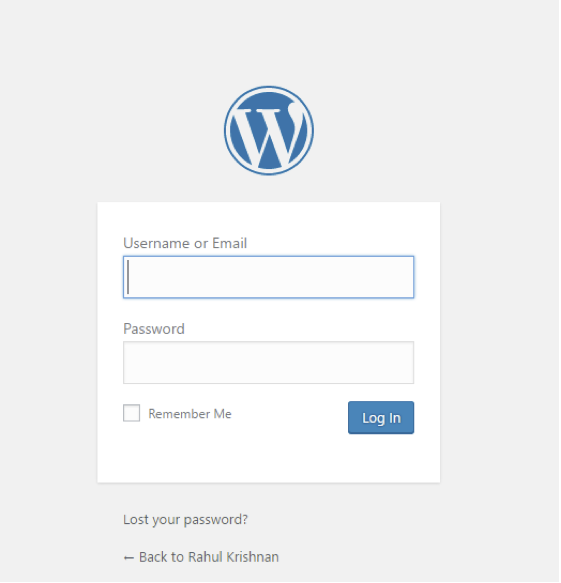
Step 1: First, you have to log into your admin panel using the correct credentials. In case you feel like you have forgotten the password, you can always use the Forgot password? link.
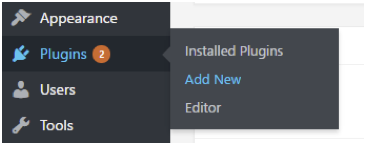
Step 2: You see a bunch of options on the right sidebar as usual. Go to Plugins>> Add new. I know you are familiar with this as you might have installed a lot of plugins in the past.
Step 3: Can you see a search field there? Just enter Login LockDown into it. Soon after you finish typing (or pasting) this, you will get a lot of results.
Step 4: Don’t confuse yourself with the number of results there. All we want is there as the first choice.
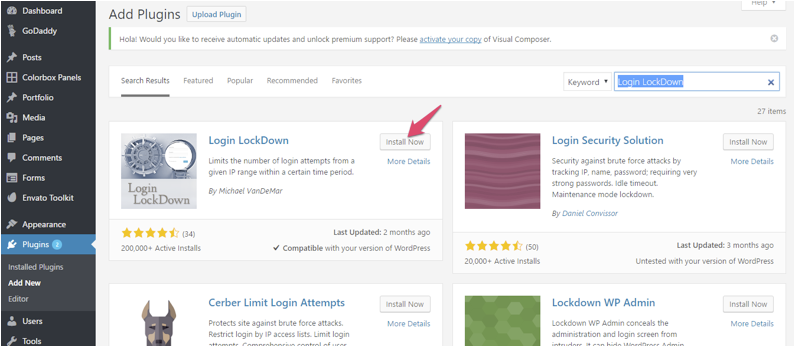
Simply click on Install Now button. You will soon see it get transformed into a blue Activate button. Don’t forget to hit the same as well.
Step 5: When you finish with the installation, you can see a new menu item named Login LockDown by following hovering your mouse pointer over Settings.
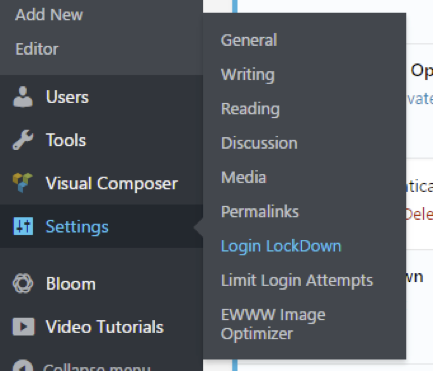
Step 6: You can see different options there. Let me explain each one for you.
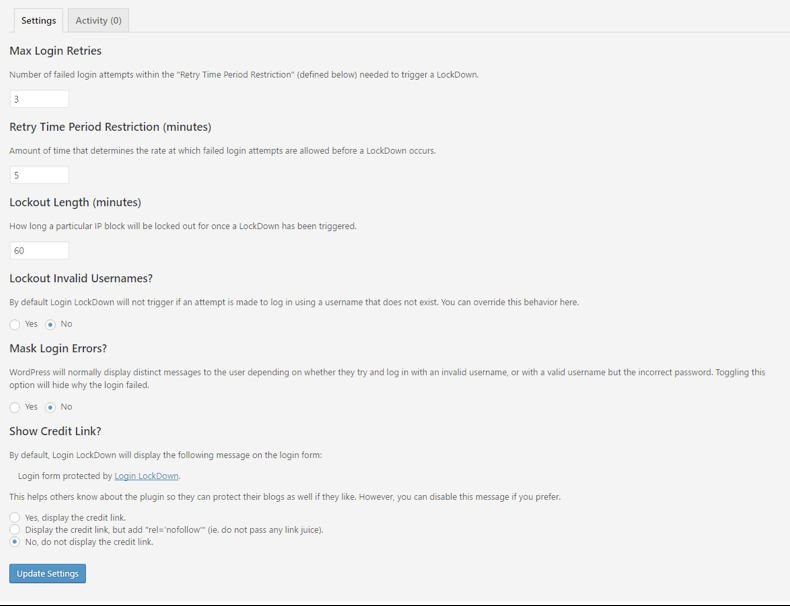
Max Login Retries:- The maximum number of failed attempts before an IP is locked.
Retry Time Period Restriction:- The amount of time for the consecutive tries. Once this period expires without crossing Max Login Retries, another try is possible.
Lockout Length:- The duration of the lockout.
Lockout Invalid Usernames:- When an invalid username is submitted, it will lockout the IP.
Mask Login Errors:- The specific error information like invalid username or incorrect password will be hidden if you enable this feature.
Show Credit Link:- If you activate this one, a message “Login form protected by Login LockDown” can be seen.
Once you change options, you can hit Update Settings button.
N.B.- You can’t specify IP addresses to be blocked using this plugin, though.
Method 2: Manual Method
You can use this method only if you know what you are going to do. We need to edit .htaccess file here. Messing up with the file will ruin your entire site. So, be careful!
I hope you have a static IP address. In this case, the process is simple as you have to allow your IP only.
Go to your web host’s control panel. And, access file manager. You can do it with the help of any FTP software like FileZilla as well.
Then, open your .htaccess file for editing. Just paste the following code to the beginning.
RewriteEngine on
RewriteCond %{REQUEST_URI} ^(.*)?wp-admin$
RewriteCond %{REMOTE_ADDR} !^12\.345\.678\.90
RewriteCond %{REMOTE_ADDR} !^IP Address InsertTwo$
RewriteCond %{REMOTE_ADDR} !^IP Address InsertThree$
RewriteRule ^(.*)$ – [R=403,L]
You should replace the IP Address in 4th and 5th lines with the IP addresses you want to allow.
Wrapping Up
I hope you know how to set IP restrictions for WordPress login page now.
If you have any queries regarding this, feel free to ask in the comment section down below. Login LockDown isn’t the only plugin available for IP restrictions, though.
Don’t forget to share this with your friends and followers on social media.